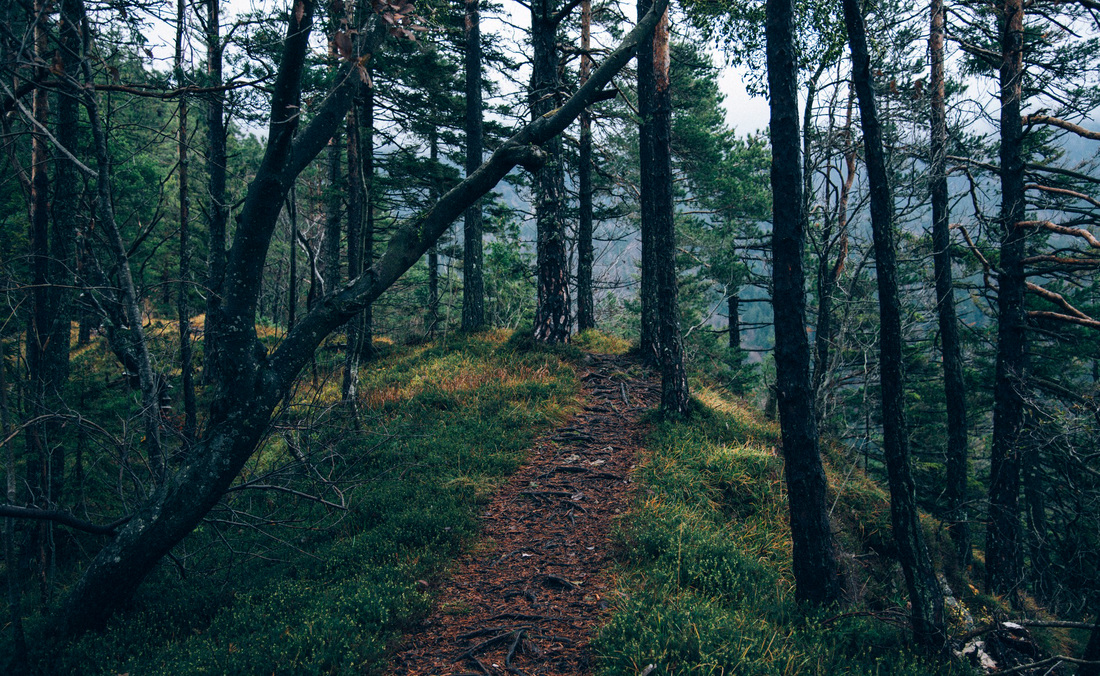
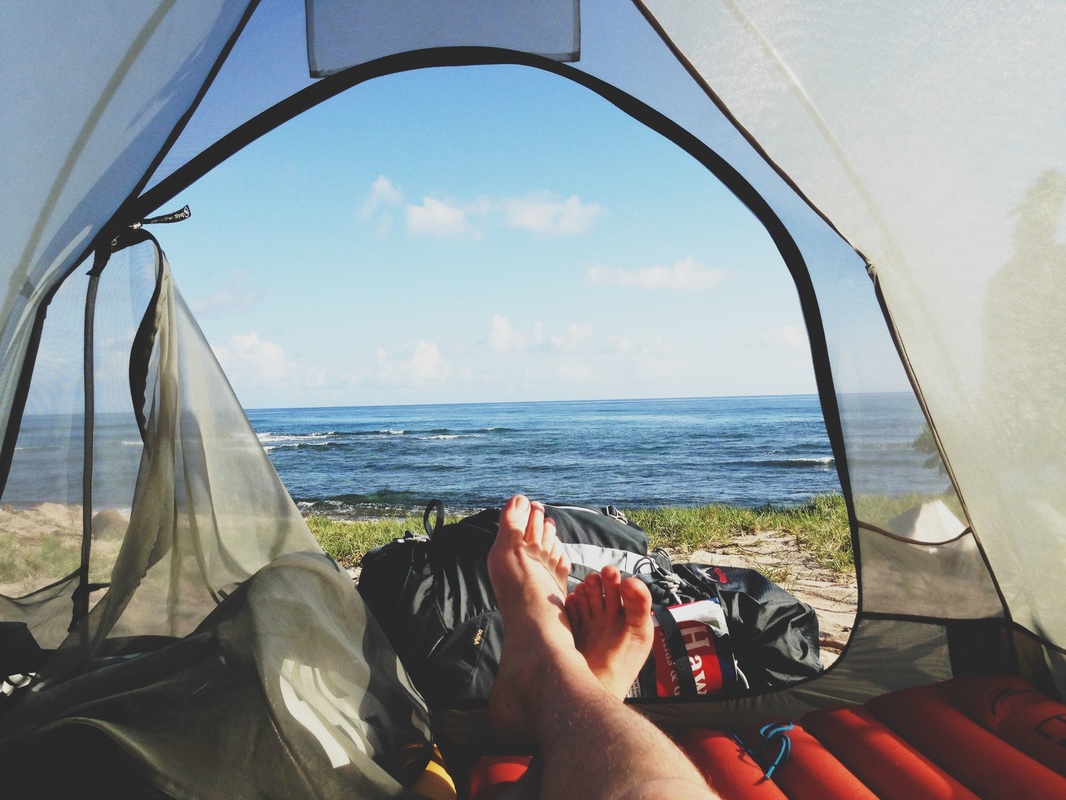
I'm James. This is my year of travel.

|
To expose the button, you’ll need to throw pots at its front to get it moving then wait for it to strike at you. Defeat it by striking the red button under the flap on its back. Head through this door and burn the web blocking the yellow knight. Use it to open the door on the other side of the spinning thing. Follow along the railing, cutting grass as you go. Make sure you stay at its back as it spits out damage dealing darts! Head through the newly unlocked white doors and defeat all the enemies inside to obtain a Dungeon Key from a chest. Proceed forward towards the spinning thing. Exit this area by climbing back up the stairs. Push this vase northeast to the pressure point to unlock a door. Cut the grass to the right of it to find a hidden ladder leading down.Ĭlimb down and follow the path until you arrive at a tall blue vase. Head across the turntable and defeat the spitting enemy by throwing a pot at it. 
Hit the large object on the right side to cause the turntable in the middle to turn. In this room watch out for the flying pots! Head through the door at the top of the stairs. Avoid the 2 spinning towers of death as you quickly run to the other side of the room and exit via the mirror. Go through the mirror next to the red one. Unfortunately you cannot do anything now, but the opportunity will come later after you get the Owl Bomb! Exit this room and the next. When it does, a new entrance will be revealed. Keep repeating this process until it dies. Either block its attack or get hit by it to strike the eye. When it does its move where it flies at you and ground shoots up underneath it, this will be your opportunity. The ghost will throw plates at you and do a spinning attack. The trick to beating this ghost is to strike the eye on its back. Throw a pot at each painting to cause a ghost boss to spawn. Burn the webs off the paintings on the wall. In this room you’ll see a long dining room table. Step on the pressure point and avoid the 2 spinning towers of death as you quickly run to the other side of the room and exit via the mirror. Head through the red mirror to open an area for later. Once all the braziers in this room have been lit, a chest containing 10 Dindi will drop! Move the rolling statue as shown below to open a red mirror. 
Exit the enclosed area and head through the space where the blue vase was to light the last brazier. Grab a pot and return to the lever to throw it at it. Circle around the railing to the other side and push the vase again to open a path. Head to the northwestern side and push the tall blue vase out of the railing. Push the tall red vase northwest to reveal a Dungeon Key! Grab a pot and throw it at the lever across the way. Head down and push the rolling statue out of the way. After you exit the room, light all the braziers you see then look on the left for a gap in the railing. Remember that in a mirror you’re looking at your mirror image! Left and right turns are reversed! Avoid the ghosts, too. Use the mirror to guide yourself through this room. Hit the fish’s mouth then head up the stairs and burn the web to reveal a portal. Push the 4 statues around the guardian symbol to the corresponding color of the flowers (west is blue, north is yellow, east is green and south is red). Head inside via the front door and stand on the guardian symbol and blow your horn. Sneak behind the two guards and cross the long bridge to reach the Abandoned Royal Mansion! Back track all the way to the table in the southwestern side of the area and take a left to follow along the railing.īe mindful of the guard here and take the first available left. Throw the pot behind him to cause him to turn around. Once all braziers are lit, a ladder will drop down. Your timing must be perfect as this is of course timed. Now this next task is going to suck! You’re going to have to light the brazier just before the spinning platform then jump onto the platform and light the 4 braziers while spinning. This will cause the middle platform to spin. Head across the wooden platform in the center and step on it. 
Step on it for the other pressure point to be accessible. In the next room, you’ll need to cross the wooden platform in the center and dig up a space in the northwestern side to reveal a pressure point. Head to the northwestern side of the room (next to brazier #2) to head down then up a set of stairs. Just make sure you’re at the right brazier before you light it! When the braziers are lit correctly, the water will rescind. It’ll not only show you the location, but also a symbol above the fish head. 
Once you light each brazier, pay attention to the quick cutscene that appears, showing you where the next brazier is. Before you light it, know that there are a total of 5 braziers that must be lit in the correct order to proceed.
0 Comments
Leave a Reply. |
AuthorWrite something about yourself. No need to be fancy, just an overview. ArchivesCategories |
 RSS Feed
